

Best Fanfold Cardboard Sheets for Sturdy Packaging and Crafts
2026-09-19
Cheap fanfold cardboard can ruin a good craft project or a well-packed box—one flimsy sheet is all it takes. The real difference comes down to flute strength, score lines, and how cleanly the board cuts. In this guide, we break down the best fanfold cardboard sheets for sturdy packaging and crafts, and explain why ShiTeng Packaging keeps winning on consistency for sheets that don't buckle under pressure.
Why Fanfold Sheets Outperform Standard Boxes for Weird Shapes
Standard boxes assume a predictable shape: a cube, a rectangle, a neat stack of same-sized items. But once you're shipping a curved bumper, a spiral duct, or a custom metal bracket with a protruding flange, those rigid walls start working against you. You end up padding empty space with crumpled paper or foam, adding weight and bulk without actually protecting the part. The box becomes a compromise, not a solution.
Fanfold sheets flip that logic. Instead of forcing an odd shape into a fixed container, you layer and fold the sheet around the item itself. One continuous piece can wrap around a tapered cylinder, tuck into a recessed notch, or bridge across an uneven surface. You trim off only what you don't need. The result is a snug, custom fit that holds the part in place without relying on a mountain of void fill.
Because fanfold stores flat and cuts to length on the spot, you also avoid the headache of stocking five different box sizes for one product line. A single stack of fanfold handles everything from a long, skinny rail to a short, chunky housing. Less warehouse space, fewer SKUs to track, and a packing process that actually matches the part geometry instead of fighting it.
Cutting Clean Lines in Fanfold Cardboard Without Special Tools
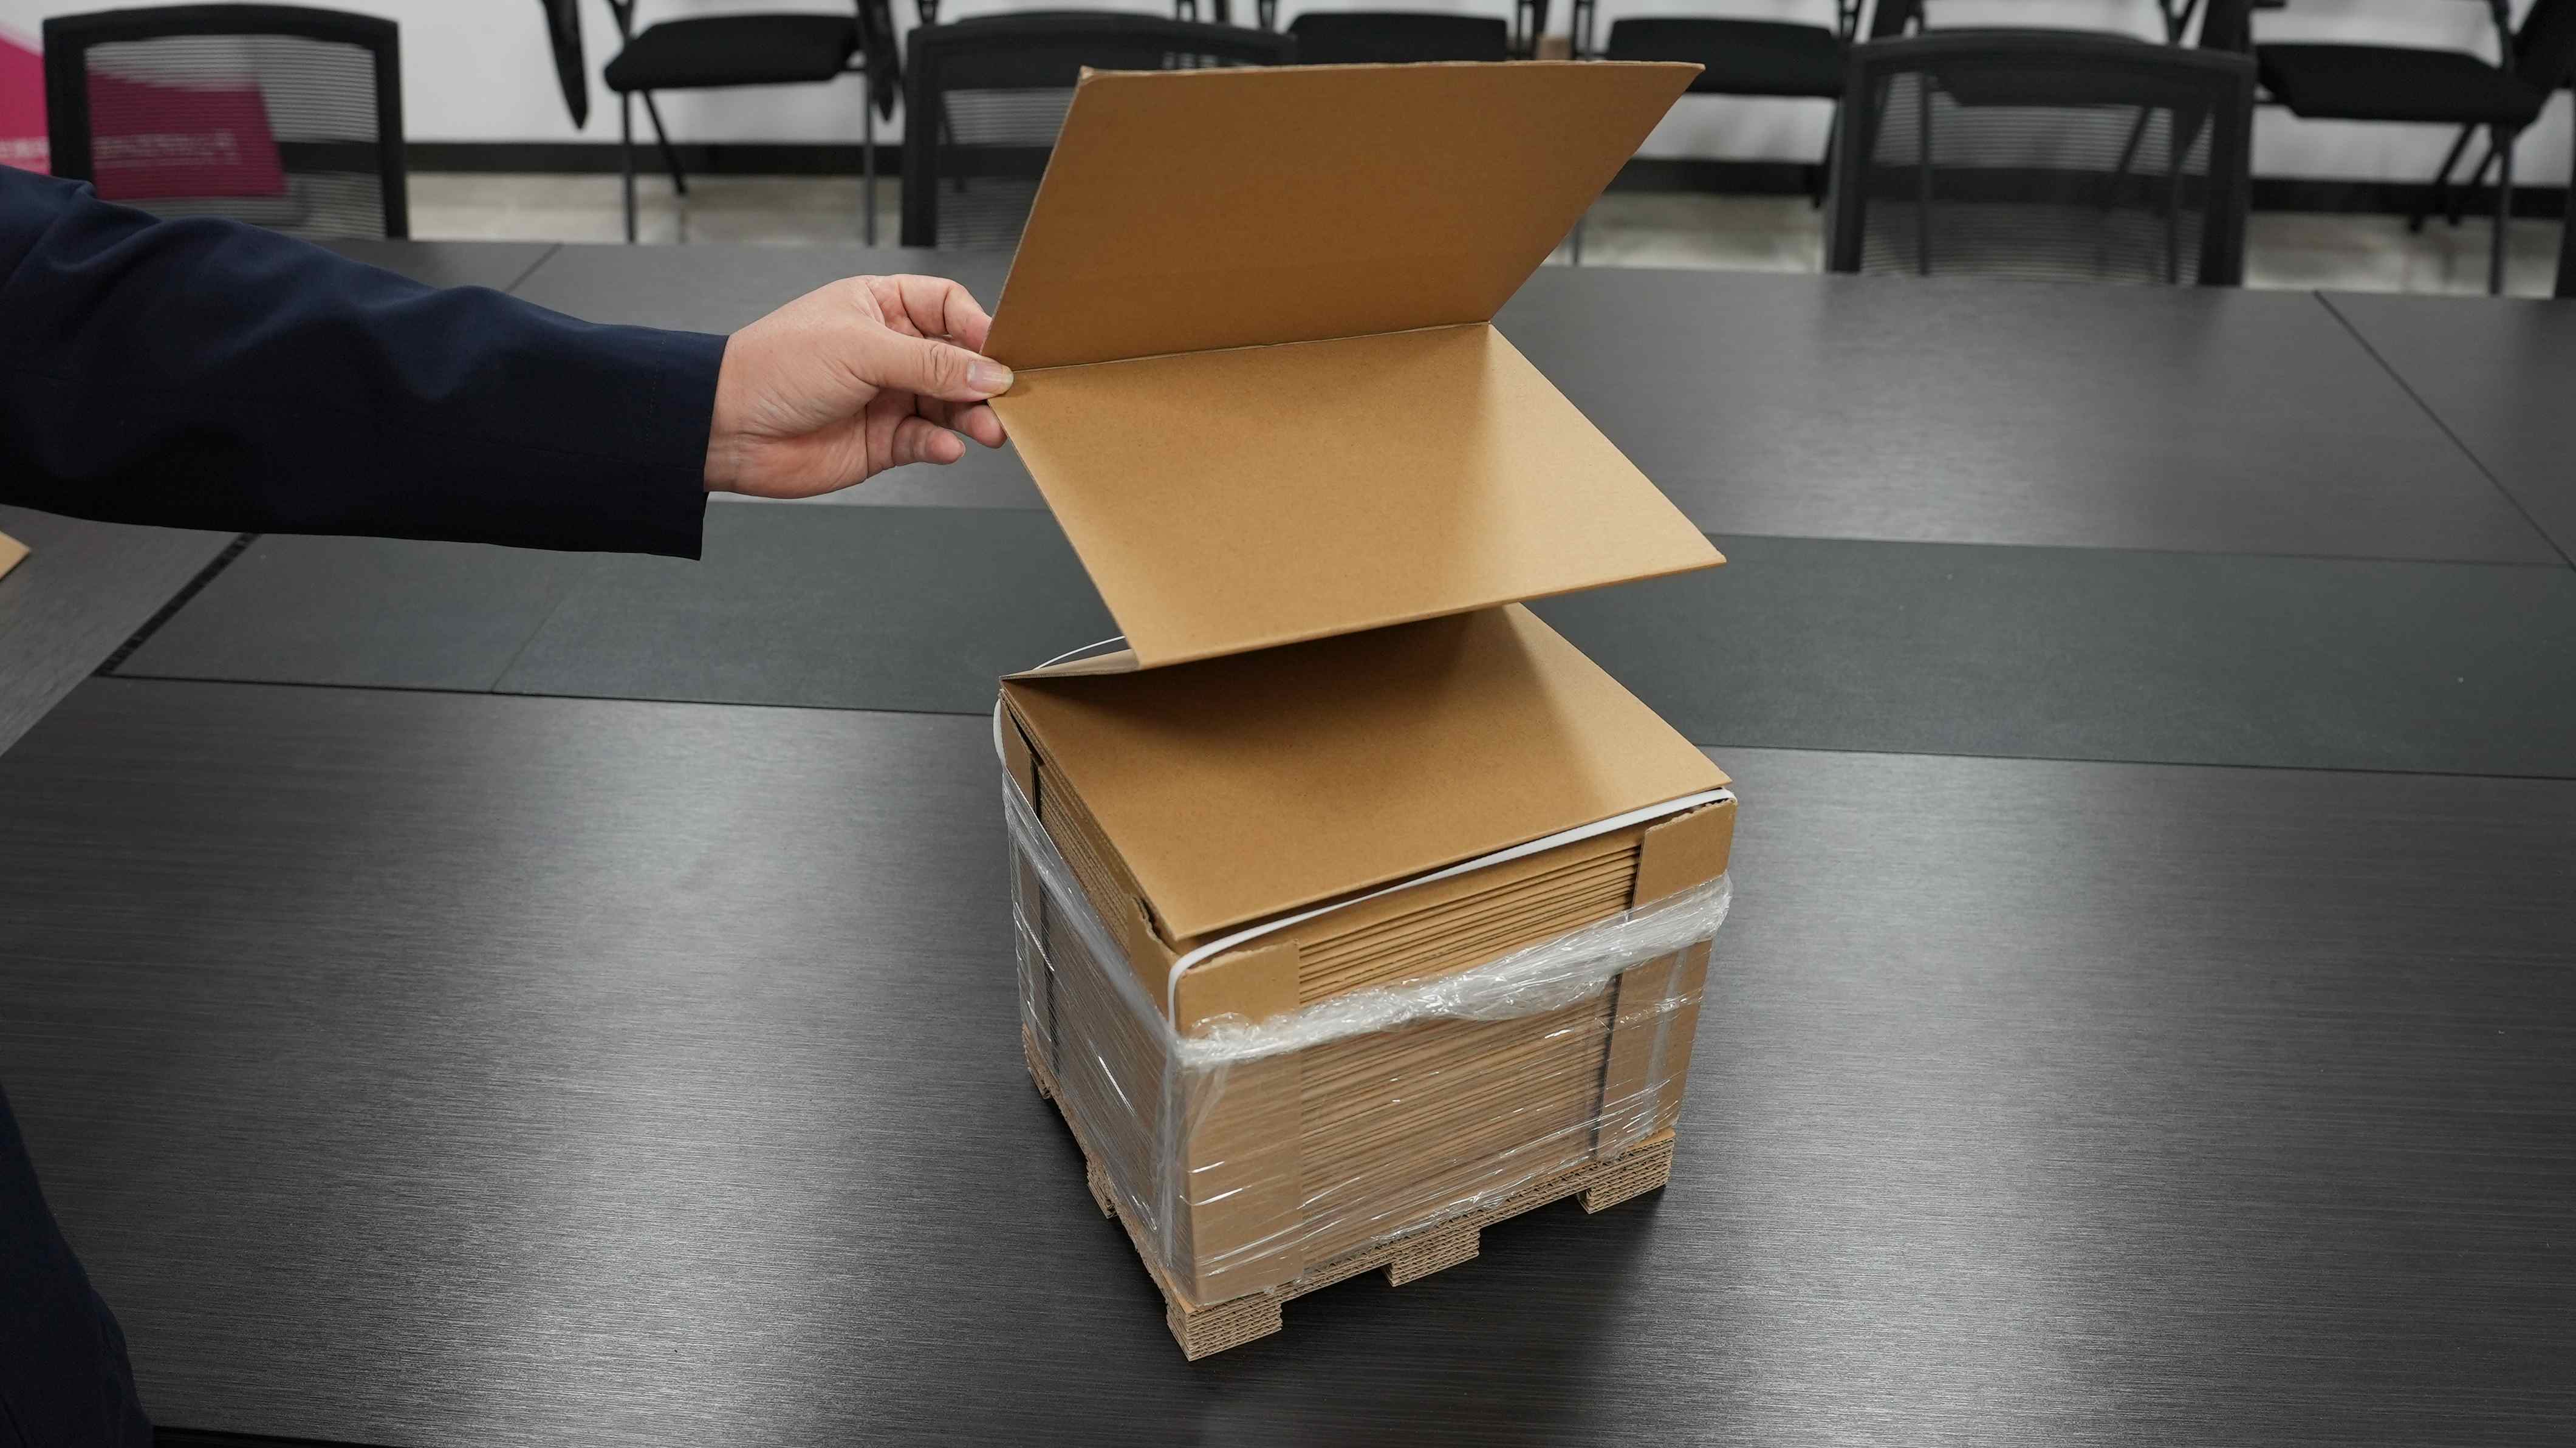
Scoring fanfold cardboard cleanly doesn't demand a workshop full of specialized tools. A sturdy metal ruler and a dull butter knife or an old credit card can work wonders. Place the cardboard on a flat, hard surface, align the ruler along your desired line, and press firmly while dragging the blunt edge across the surface a few times. This creases the top layer without cutting through the fluting, letting the board fold neatly along the line without jagged tears.
For longer cuts, weight the ruler down with a heavy book or clamp to keep it from slipping mid-score. If you need a full separation rather than just a fold line, flip the cardboard over and score the opposite side along the same path. Then gently bend the board back and forth until the fibers give way. Working slowly prevents the inner corrugated layer from crushing unevenly, which is the usual culprit behind ragged edges.
A sharp utility knife with a fresh blade can also substitute when a perfect cut is necessary, but it takes a steadier hand. Hold the knife at a low angle and let the blade follow the ruler's edge without forcing it. Two light passes often outperform one heavy stroke, reducing ripples and keeping the line true. With either method, practice on a scrap piece first to gauge how much pressure your particular board needs.
How to Match Sheet Thickness to the Weight You’re Shipping
Matching sheet thickness to shipment weight isn't about following a rigid chart—it's about understanding how much stress the packaging will face. A thin polyethylene sheet might be perfect for a five-pound box of clothing, but it will tear apart under a cast-iron skillet. The core principle is simple: the heavier and denser the item, the more force it exerts on the sheet material during handling, stacking, and transport. If the sheet can't handle that force, you'll end up with punctures, rips, or crushed edges before the package reaches its destination.
Start by grouping your products into weight brackets. For shipments under 10 pounds, a 1/16-inch corrugated pad or 2-mil plastic sheet usually does the job. Once you cross into 10–30 pounds, bump up to at least 1/8-inch corrugated or 4-mil material. Anything over 30 pounds should use 3/16-inch boards, double-wall corrugated, or reinforced foam sheets. Keep in mind that the shape matters too—sharp corners and narrow edges concentrate weight onto a small area, so those spots need extra thickness even if the total weight seems moderate.
Don't assume thicker always means better. Over-thick sheets add unnecessary bulk and cost, and they can make the package too rigid to absorb impacts properly. Instead, test a few combinations by dropping a packed box from waist height. If the sheet shows deep creases or the item shifts, move up one thickness level. Also watch for moisture or temperature extremes during transit, as these can weaken certain materials. A little experimentation with your actual products will give you a reliable thickness guide faster than any generic chart.
From Flat Sheet to Custom Crate: A Quick Process
Turning a flat sheet into a crate starts with precise measurements—often down to the millimeter—since crates have to secure oddly shaped equipment, not just boxes. We run the sheet through a CNC router or panel saw, cutting interlocking notches and finger joints that eliminate the need for excess screws or metal brackets. This keeps the structure rigid while cutting assembly time nearly in half.
Once the panels are cut, edges get a quick sanding or radius treatment so handlers won't snag gloves or skin. Then the pieces are dry-fitted to confirm the internal dimensions match the product, especially if it has protruding handles, wheels, or fragile attachments. Minor adjustments are made on the spot rather than waiting for a second production run.
Finally, the crate is assembled with waterproof adhesive and corrosion-resistant fasteners, then lined with custom foam or blocking if the item needs shock absorption. Each crate gets a load test before it leaves the floor: a brief tilt or compression check that verifies the joints stay tight. From flat sheet to finished crate can take under an hour for standard sizes, which is why customers don't have to choose between speed and a snug fit.
Crafters’ Favorite Fanfold Projects Beyond Basic Padding
Fanfold isn’t just for cushioning fragile shipments anymore. Crafters have quietly turned this humble honeycomb paper into a surprisingly versatile medium, and once you see what they’re making, you’ll want to raid the packing station before your next online order hits the recycling bin. From textured art journals to lightweight structural bases for paper mache, the ways people are repurposing fanfold go well beyond simply wrapping a mug in it.
One popular trick is turning fanfold into dimensional backgrounds for scrapbook layouts and mixed media canvases. By lightly misting the paper and pressing it into a mold or crumpling it strategically, you get an organic, wrinkled texture that takes paint, ink, or gilding wax beautifully. Because fanfold is already scored in a grid, it also tears cleanly into strips that can be twisted into rustic twine-like cords, or layered into accordion flowers that hold their shape far better than standard crepe paper.
For those who enjoy a bit of engineering with their art, fanfold’s structural strength when glued into tubes or folded into zigzag supports makes it ideal for lightweight shelf displays, gift box dividers, and even surprisingly sturdy holiday ornaments. The key is to treat it less like packing material and more like a low-cost, eco-friendly building sheet that just happens to arrive free with your packages.
Storing Fanfold Bundles in Tight Spaces Without the Mess
Fanfold bundles have a way of turning a cramped storage area into a disaster zone if you don't give them a dedicated home. The stack starts out neat, but one bump or a rushed pull on the corner and suddenly you've got a leaning tower of cardboard threatening to avalanche across the floor. The trick isn't more space—it's giving the bundles a structure that keeps them vertical and contained, so they stop wandering into your walking paths or getting crushed under heavier items.
One of the simplest fixes is to treat fanfold like long rolls of fabric or carpet. Build or buy a narrow vertical rack with divided slots, or mount heavy-duty shelf brackets on a wall and lay the bundles horizontally across them. If floor space is the only option, use a pallet rack with upright dividers or even a couple of angle-iron frames bolted to the wall. Secure each bundle with a ratchet strap or bungee cord around its middle, and you'll stop the slow uncoiling that happens when the poly strap breaks or the wrap tears.
After you've opened a bundle, don't just leave the loose end flapping. Wrap the remaining fanfold tightly with stretch film, tucking the edge under so it can't catch on anything, and write the size or flute type right on the wrap with a marker. Store partials on a shelf at waist height so you're not bending or reaching past other gear to grab them. Rotate your stock so the oldest bundles get used first, and you'll avoid the dreaded pile of faded, moisture-warped cardboard hiding in the back corner.
FAQ
For heavy items, go with double-wall or at least 200-pound test. Single-wall fanfold is fine for wrapping or cushioning, but it flexes too much under real weight. Check the edge crush test rating if it's listed—anything above 32 ECT holds up well for boxes and corner protection. Also make sure the sheets are scored or pre-creased if you need clean folds.
Absolutely. Fanfold stacks are basically continuous sheets of corrugated board that you cut to size and score yourself. Use a utility knife and a straight edge for long cuts, and a scoring tool or blunt butter knife along a ruler for fold lines. You'll get boxes that fit oddly shaped items without paying for custom die-cut runs.
They're not a direct replacement, but they work well for wrapping flat or semi-flat items. Fanfold cardboard adds rigidity, so it's better for preventing bending than for cushioning impacts. If you're shipping framed art or books, wrap the item in a layer of fanfold, then add a little padding at the corners. For anything fragile, you still want some void fill.
Common widths are 48, 60, and 72 inches, with lengths anywhere from 100 to 250 feet per stack. You can cut them down to whatever you need. Some suppliers also sell pre-scored sheets at set intervals, like every 12 or 24 inches, which speeds things up if you make lots of the same box size.
For small models, thin single-wall (around 1/16 inch) is easier to cut with scissors and takes paint well. If you're building something that needs to stand up, like a display stand or costume armor, go with 1/8 inch or double-wall. Anything thicker becomes a pain to cut by hand unless you have a rotary cutter.
Yes, it's just corrugated cardboard, so it goes in the same recycling stream as boxes. Make sure it's clean and dry, and remove any non-paper tape or labels before tossing it in the bin. Since you cut only what you need, there's often less waste compared to buying pre-made boxes in the wrong sizes.
The main difference is format. Standard sheets come in fixed sizes like 36x48 inches. Fanfold is a continuous stack of corrugated board, folded at regular intervals like an accordion. You unroll just enough and cut it, which is convenient for storage and lets you produce varied sizes without storing huge flat sheets.
It can, but keep in mind it's not acid-free unless specified. For things like documents or textiles, you'd want archival-grade material. For general household items, tools, or seasonal decorations, fanfold works fine. If you're making storage boxes, line them with plain paper if the contents are at all sensitive.
Conclusion
Fanfold cardboard earns its keep the moment you have to wrap something that doesn't fit a predictable cube. Because it arrives as a continuous, scored sheet rather than a pre-set box, you can bend it around bike handlebars, ceramic vases, or a weirdly angled lamp base without leaving empty gaps that let things shift. That alone beats wrestling a standard carton into submission. When you need a clean edge, a metal ruler and a sharp utility blade do the job fine—no specialty cutter required. Just score once lightly, then go back with a second pass to avoid tearing the inner flutes. Thickness matters here: for anything under about ten pounds, a single-wall sheet around 1/8 inch thick is usually enough. Step up to a double-wall option once you're shipping cast iron, small appliances, or anything that might get dropped on a conveyor. The goal is to match the board to the abuse it'll actually see, not just the item's weight.
Turning a flat sheet into a custom crate sounds like a weekend project, but it's quicker than you'd think. Measure the item, add a half inch for padding, then cut and fold along the existing scores. Tape the corners and you've got a snug container without hunting for the right-size box. Crafters tend to go further with the same material: cutting it into sturdy drawer dividers, building lightweight model bases, or even layering strips to make bookends. It's cheap enough to experiment with, and mistakes don't sting. Storage is the last hurdle—fanfold bundles can sprawl if you let them. Stand them upright against a wall, secure with a bungee cord or a simple strap, and slide them behind a shelf or workbench. That keeps the sheets flat and grab-ready instead of bent and dusty in a corner.
Contact Us
Contact Person: Mr. Ge Man
Email: [email protected]
Tel/WhatsApp: 8613710506492
Website: https://www.shitengzx.com